Wet Felting and Needle Felting Lines
Posted on
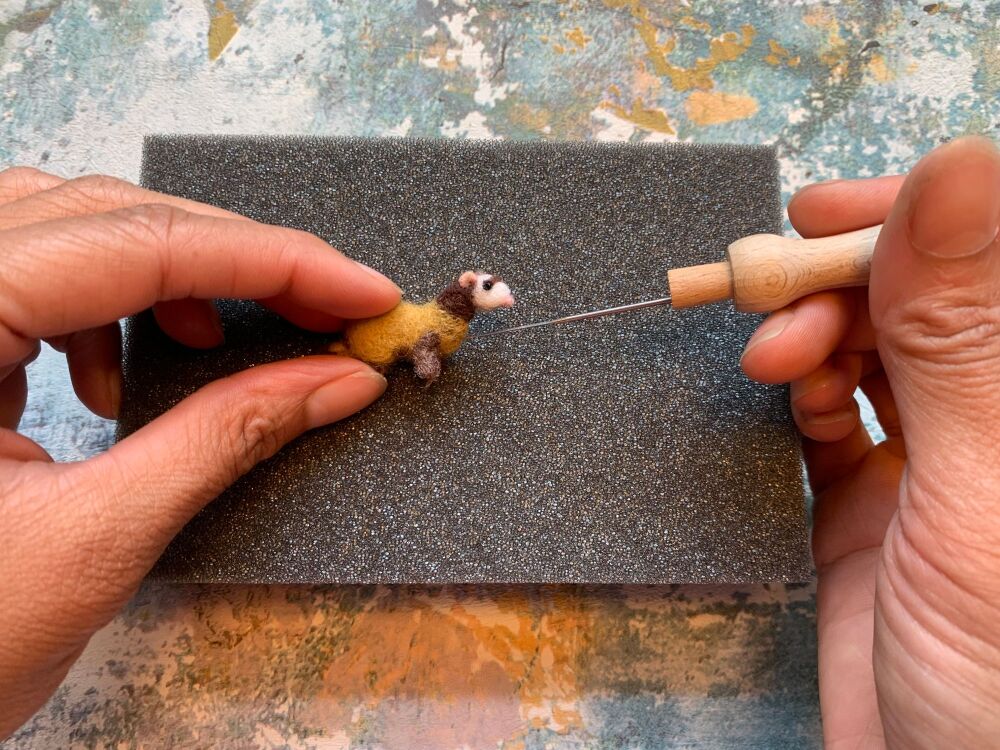
Felting lines, whether for outlining shapes or adding details, requires precision and control. Here are some techniques to help you achieve clean, well-defined lines:

Needle Felting Thin Lines

Welcome to the Heidifeathers Blog — your hub for needle felting tutorials, wet felting guides, for beginners and advanced makers. Explore armature techniques, colour blending, shaping methods, detail work, and finishing techniques designed to improve structure, texture, and precision in every felting project.
Each tutorial includes direct links to the exact felting materials, felting needles, wool fibres, and tools used, helping you learn, refine, and build confident, and competent felting results.
We’re here to guide your felting step by step, cheer on your makes, and encourage you to stretch your skills with supplies & techniques. Whatever you’re learning next, you’ll always have clear tutorials, practical tips, and steady support. xx
Posted on
Felting lines, whether for outlining shapes or adding details, requires precision and control. Here are some techniques to help you achieve clean, well-defined lines:
Needle Felting Thin Lines
Posted on
Here's a step-by-step guide on how to add glass eyes to a felted animal:
1. Choose the right size and type of glass eyes for your project. Make sure they are appropriate for the scale of your animal.
2. Use a felting needle or awl to create a small hole in the right spot on the animal's face, ensuring it is the correct size and depth for the glass eye.

3. If needed, needle-felt a small indentation around the eye hole to create a socket that matches the eye's shape.
4. Apply a small amount of clear drying glue to the back of the glass eye.
5. Carefully push the glass eye into the socket from the front of the felted face.
6. Gently press the wool around the eye to secure it in place and ensure a snug fit.
7. Use needle-nose pliers to adjust the eye if necessary, being careful not to touch the glue.
8. Once the glue is dry, you can add additional wool around the eye to build up the eyelids and blend the eye into the face.
9. Optional: Add eyelashes using horsehair or embroidery floss for an extra touch of realism.
When creating felted eyes:
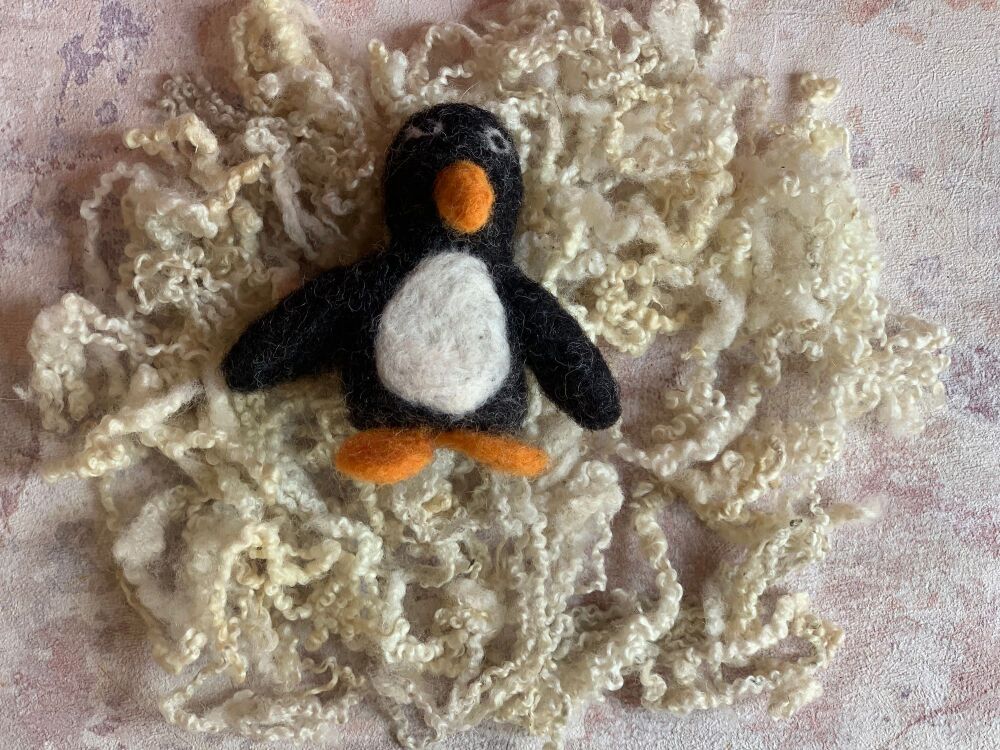
For a more info on making felted eyes please see Helen Winter's article or Amanda at Fit to be Loved Felted eyes
Posted on
Create a smoother finishing
Posted on
Carding Instructions
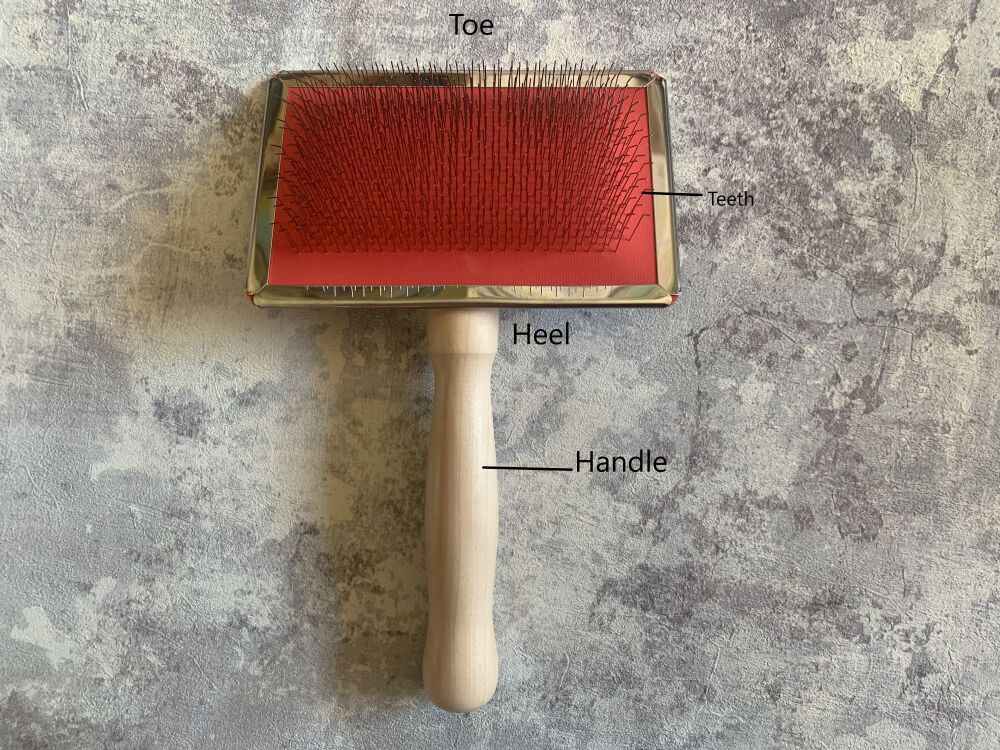
Carding wool is a way to brush the fibres to make them easy to manage in preparation for spinning or felting. Below are the named parts of the carder.
Step 1 Charging the Carder
Hold one carder flat on your lap, take a piece of wool and place fibres on to the carder by pressing down or dragging the wool over the teeth of the carder.
The ends of the fibres should be at the handle end of the carder. Cover the carder from one side to the other. Try not to overfill the carder as this will make carding difficult.
Posted on
Problem-solving with felting needles
The needle keeps breaking or bending