
How Much Wool: A Guide for Felting Pictures
Posted on
Knowing how much wool you’ll need for a wet‑felting or needle felting picture can feel confusing, because every project is different: size, wool type, technique, and the level of detail all change the amount required.
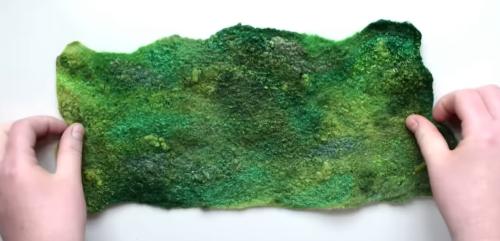
The good news is that once you understand how these factors work together, you can reliably estimate the wool for any picture, whether it’s a light, painterly needle felted landscape or a dense, richly layered wet felted panel.
The methods below give you practical ways to calculate wool amounts before you start so you can plan confidently and avoid running short halfway through a design.
The core idea
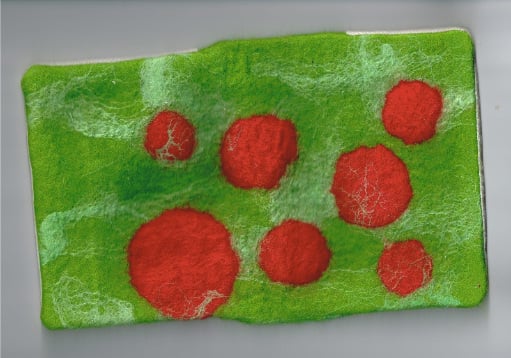
You estimate wool amounts by looking at:
- Size of the picture
- Density you want
- Technique (wet vs needle)
- Type of wool
Everything else is just a way of measuring those four things.
Wet felting pictures
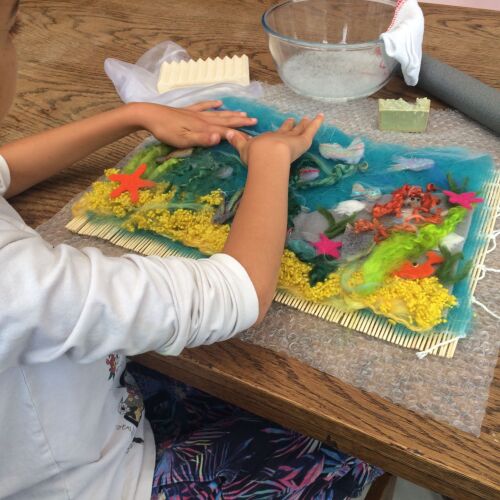
Wet felting always requires more wool because it shrinks and because you require multiple thin layers.
1. Estimate the layout size
Wet felting shrinks by 25–40%. If you want a finished picture of 30 × 40 cm, you lay out roughly 40 × 55 cm.
2. Use weight per paper size
A reliable starting point:
- A4 layout → 20–30 g
- A3 layout → 40–60 g
- A2 layout → 80–120 g
This includes background + colour layers.
3. Add detail wool
- Detailed landscapes → add 10–20 g
- Using prefelt → reduce total by 20–30%
Needle‑felting pictures
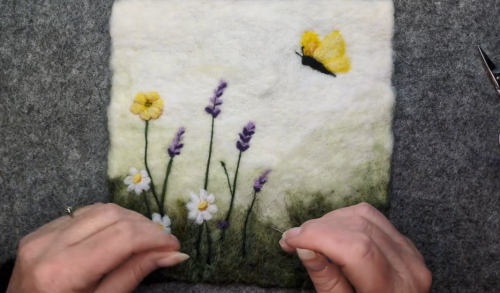
Needle felting uses less wool because there’s no shrinkage, and you’re building up slowly.
1. Choose firmness
- Soft, painterly picture → 10–20 g for A4
- Firm, raised picture → 30–50 g for A4
2. Background wool amounts
- A4 background → 10–15 g
- A3 background → 20–30 g
3. Detail wool
- Trees, animals, shading → 5–20 g
- Raised elements → 5–30 g extra
4. Adjust for wool type
- Carded batts → need less
- Combed tops → need more
- Coarse wool → builds bulk quickly
- Fine wool → needs more layers
A universal method (works for both)
This is the most accurate way to estimate wool for any picture.
The Paper Template Method
- Cut paper to the finished size of your picture.
- Cover it with wool until it is even and opaque.
- Weigh that wool.
- Multiply by:
- ×1.5 for needle felting
- ×2–3 for wet felting
This gives you a reliable estimate every time.
Supplies List
Next Steps
Wet Felting AB Crafty
Needle Felting Faelanda Fibre Art
An article you might like 2D Pet Portraits