
Wet Felting Tips and Tricks
Posted on
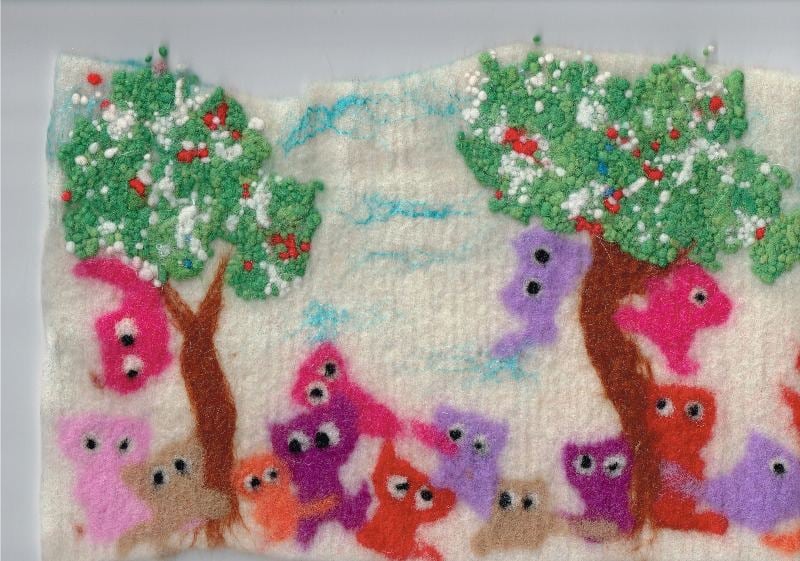
Wet Felting Tips and tricks
- Merino wool tops /roving is great for wet felting
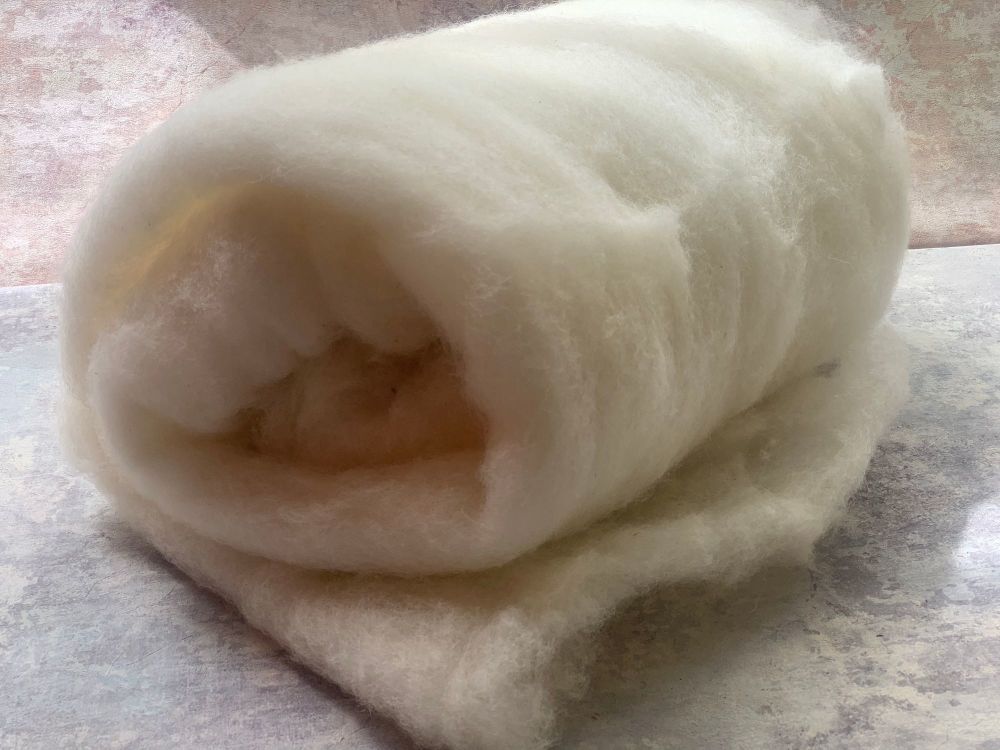
- You can use a sheet of carded batting for the base of a picture to speed up the process
- Making sure the edges and corners get rubbed and shaped increases straightness of the felt
- Hot and cold water quickly finishes a piece of felt
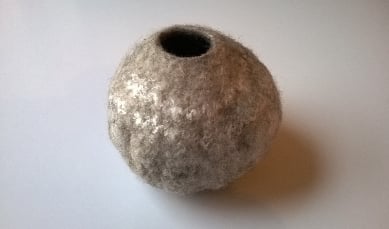
- Start slowly when rubbing as the felt is very fragile
- Laying felt evenly reduces lumps and holes
- Do not be afraid to cut the wool into shape
- Cut edges need extra work to felt together
- The wool will shrink a lot more in length than in width
- Take your time
- You can gently needle felt detail in place before wetting to keep it from slipping
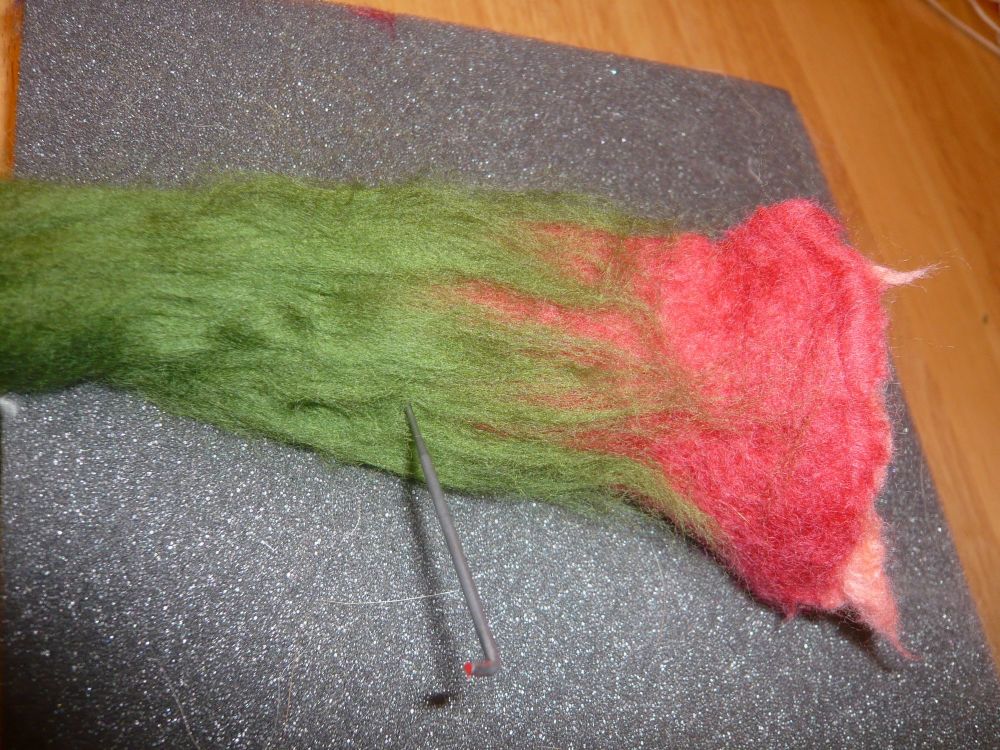
- You can make your own pre felt by gently felting thinly layered wool, then drying it.
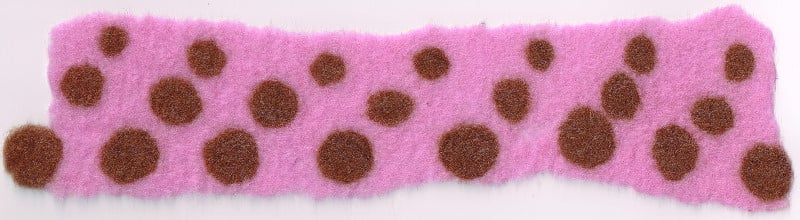
- Olive oil soap is gentle on your hands and good for felting
- Wet felting tends to need more wool than needle felting as you are making a firmer felt
- Make sure your wool is not dripping wet, to have the fibres to move in a controlled fashion.